Examples
Barcode Scanner
General Information:
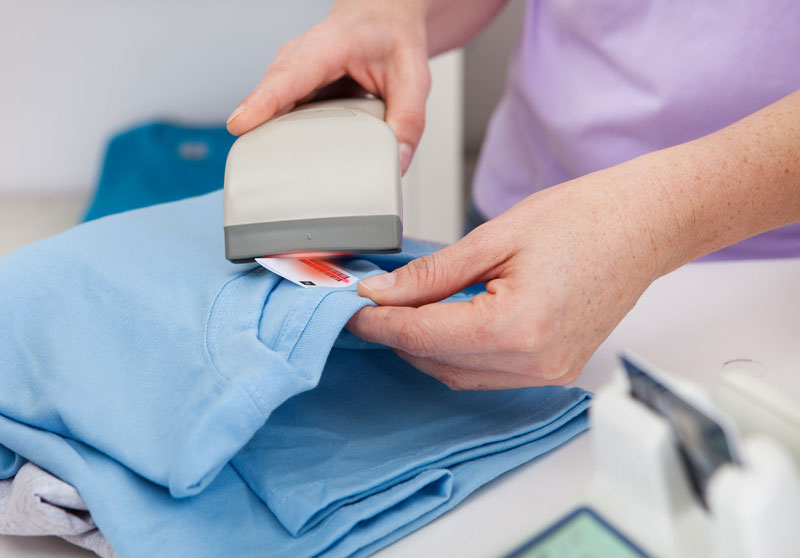
Connecting a barcode scanner to a target device is an easy task when using emUSB-Host. Most barcode scanners are simple HID devices that are supported out of the box.
These scanners behave like a keyboard. Each time a barcode is scanned, the scanner translates the code into a series of key presses and releases. So scanning a barcode indicating www.segger.com

sends a sequence of key pressed and key released for each character. The sample USBH_HID_Start can visualize this:
'w'-key is pressed, 'w' is released
'w'-key is pressed, 'w' is released
'w'-key is pressed, 'w' is released
'.'-key is pressed, '.' is released
's'-key is pressed, 's' is released
'e'-key is pressed, 'e' is released
'g'-key is pressed, 'g' is released
'g'-key is pressed, 'g' is released
'e'-key is pressed, 'e' is released
'r'-key is pressed, 'r' is released
'.'-key is pressed, '.' is released
'c'-key is pressed, 'c' is released
'o'-key is pressed, 'o' is released
'm'-key is pressed, 'm' is released
'Enter'-key is pressed, 'Enter' is released
Using the USBH_HID_Keyboard sample project will display the following output:
The following text was entered: www.segger.com
The output can be seen in the Terminal window of a debugger such as Ozone, the Terminal Window of an IDE such as Embedded Studio or in J-Link RTT Viewer.
Text Display for PoS Systems
General Information:
POS displays are available in different configurations. They can be connected via RS232, RS484 or SPI, but also via USB. In normal cases, they will be recognized as either a CDC-ACM device (USB-to-UART) or an FTDI device.
Even though they use different connectors, they all have in common that they support either a common command set and/or a vendor command set to output data on the display. One of the commonly used ones is ESC/POS, which allows sending special commands such as initialize or put the following line on the second line.
Displays with a USB interface are the easiest ones as they allow plug-and-play, do not need to be parameterized (UART speed, parity, data bits, etc.), and in case of a failure, they can be replaced while the system is running.
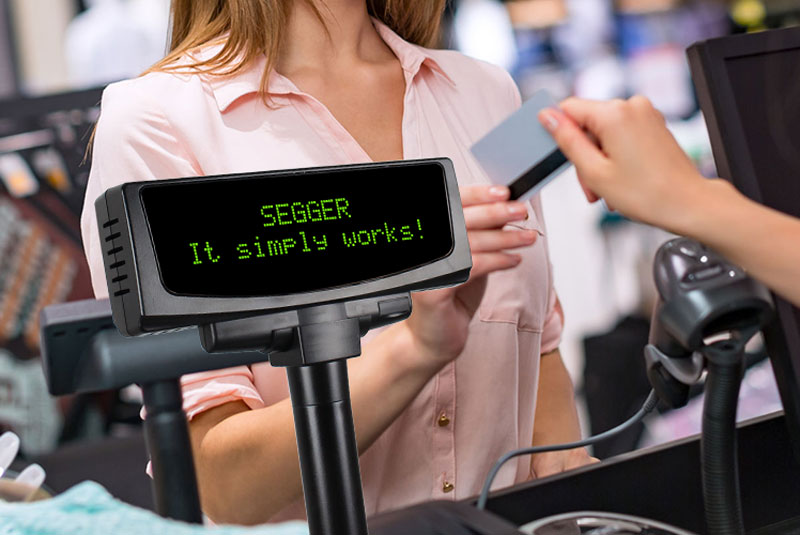
Connecting such a target device where emUSB-Host with the CDC component and FT232 component enabled is running is very simple. Using the USBH_TERM_API, a POS display is detected automatically and can easily be used to display text.
A simple application could look like the following:
  USBH_TERM_Init();

  USBH_TERM_Print(0, 0, "     SEGGER     ");
  USBH_TERM_Print(1, 0, "It simply works!");
The following POS terminals are known to work with this sample:
- PartnerTech CD-7220-UN POS Display
- Tipro POS terminal
- EPSON M58DC (DM-D110)
- Wincor Nixdorf BA63 USB
4G/LTE Data USB Stick
General Information:
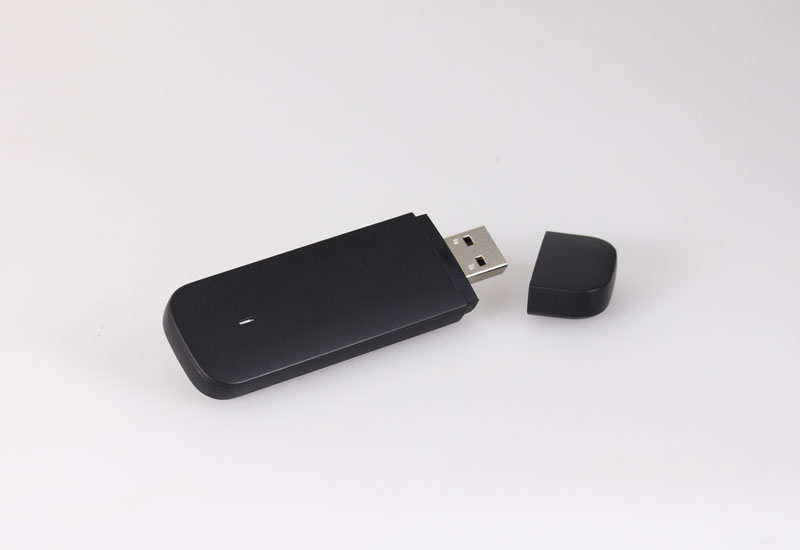
4G/3G sticks are quite handy as they enable connections to the internet by simply plugging such a device into a PC, install the driver, and configure the device. Current LTE/4G sticks are connected just like a USB-to-Ethernet Adapter not requiring configuration at all.
Having a target system with emUSB-Host with the LAN component and emNet allows you to use such a 4G stick. Currently the Huawei E3372-H is supported and with some little modification in one single file other 4G sticks will work.
In order to use the Huawei stick, please note, that a SIM card without PIN verification is necessary in order to connect automatically to Internet.
Ethernet-over-USB adapter
General Information:
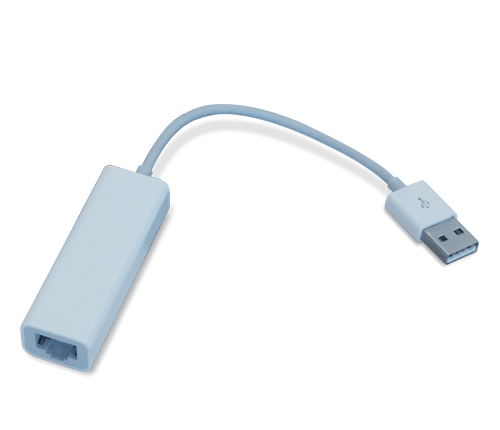
Ethernet-over-USB adapters can be used to extend your embedded system with network connectivity.
Internally Ethernet-over-USB adapters use different protocols, depending on the vendor or model of the device. CDC-ECM or protocols from the company ASIX are most common in Ethernet-over-USB adapters, Android phones often use RNDIS to communicate. emUSB-Host LAN supports all these protocols.
The demo is configured with a webserver, after programming the device and connecting it to your local network via an Ethernet-over-USB adapter you can use the URL "http://usbh.local" to open the web server demo.
MIDI
General Information:
The MIDI protocol is designed to communicate with various audio and stage equipment.
The demo package contains two demo applications.
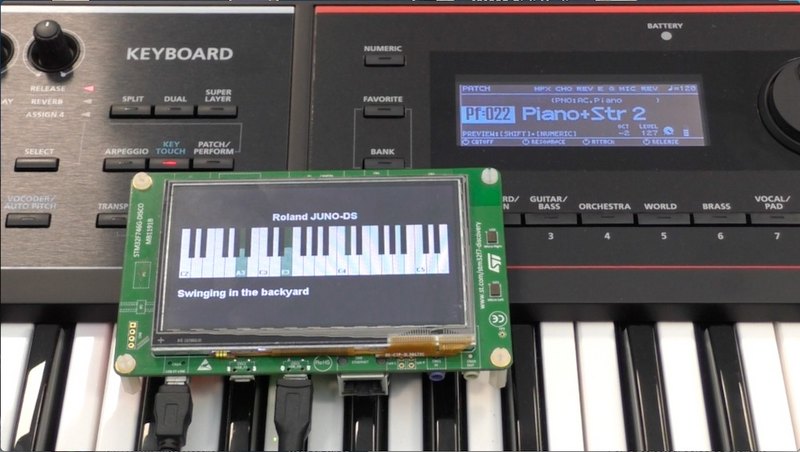
The first application (MIDI_Player) plays a static MIDI file on a connected synthesizer or sound module. If a display is available on the eval board a keyboard is displayed which shows the individual keys pressed.
The lyrics contained in the static MIDI file are also shown on the display.
The second application (MIDI_HID) allows a regular PC keyboard to be used to send MIDI events to all connected MIDI devices. As such it is possible to play notes on MIDI devices which can produce sound or control the LEDs of a MIDI sequencer via a regular PC keyboard.
The following MIDI devices have been tested with these samples:
- Roland Juni-DS 63
- Roland Juno DS-61
- Roland TD-3
- Roland TD-20
- Native Instruments Komplete Kontrol S61 Mk 2
- Native Instruments Komplete Kontrol A25
- M-Audio Keystation 61ES
- Tapco link.MIDI 4x4
- Akai Discover DJ
- Vestax Spin
- Korg Electribe ER1
- Alesis DM5
- Alesis Performance Pad
- Boss DB-90
AUDIO
General Information:
The AUDIO protocol is designed to communicate with various audio devices.
The demo package contains two demo applications.
The first application (AUDIO_Speaker) plays a voice via a connected USB speaker. If additionally a USB memory stick is connected, that contains an audio file (extension ".wav"), the audio file is played. The audio file must be in WAV format, 16 bit PCM, stereo. The sample frequency of the WAV file must match a sample frequency supported by the USB speaker.
The second application (AUDIO_Microphone) reads audio data from an input device (like a microphone) and outputs a line of '#' characters in the debug terminal every 20 ms. The length of that line depends on the volume of the audio sound, which makes the volume visible.
Webcam
General Information:
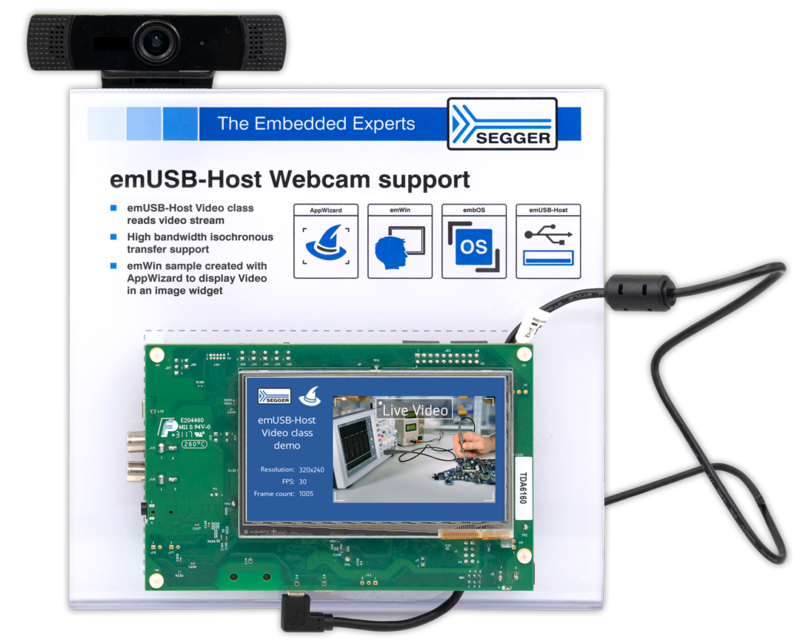
The Video USB protocol is designed to communicate with various video devices and is mainly used to communicate with webcams.
The demo package contains an application which displays the connected webcams's video stream on the display. The surrounding GUI elements are created using emWin AppWizard
